
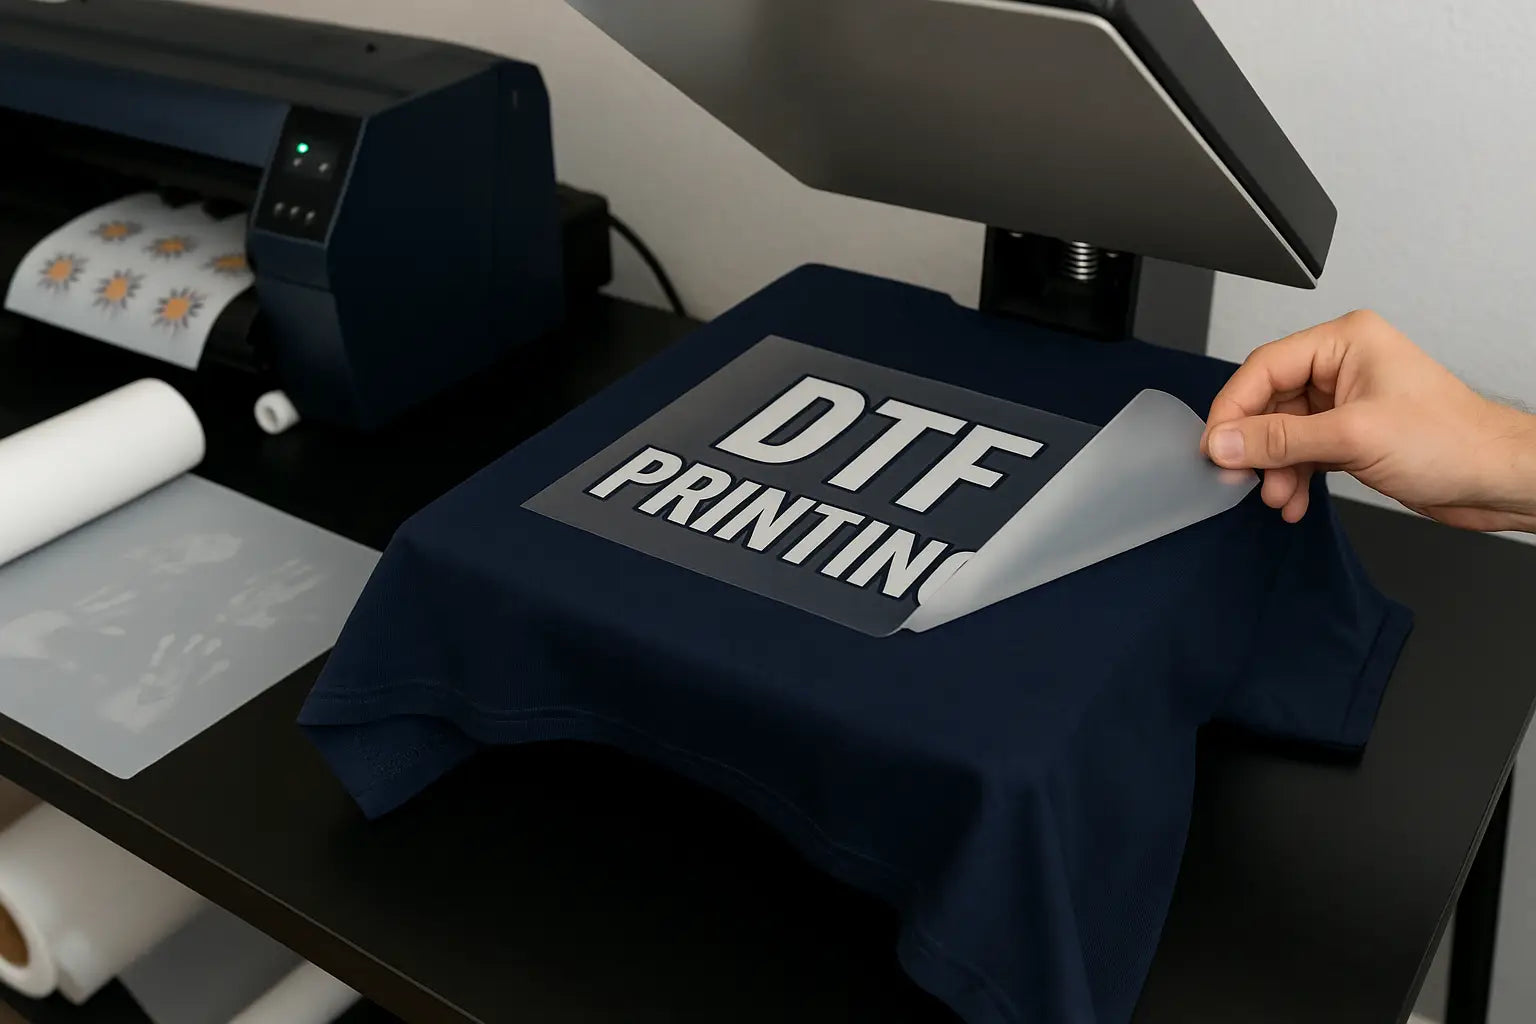
Direct to Film (DTF) printing has become a go to choice for vibrant, durable designs on a wide variety of fabrics. But even with great equipment and quality transfers, one wrong move can ruin a print.
You're not the only one who has been having trouble with DTF printing errors. A lot of novices and even experienced printers make minor mistakes that cause products to peel, fracture, or fade. The good news? Every mistake is avoidable if you know what to look out for.
This guide breaks down the most common DTF printing issues, from the setup stage to the final heat press, and shows you how to prevent DTF transfer mistakes them so you can consistently deliver top quality prints.
1. Ignoring Film and Powder Quality
Your print is only as good as your materials. Using low grade film or powder can lead to DTF transfer errors like poor adhesion and uneven texture.
Tip: Choose PET films designed for DTF printing and high quality hot melt powder. Poor powder can cause DTF powder curing issues and lead to patchy results.
2. Not Controlling Humidity and Temperature
Environmental factors play a bigger role than most people realize. Excess humidity can cause DTF prints not to stick to the fabric, while high heat in the room can affect powder melting.
Tip: Keep your printing space between 20°C–25°C with controlled humidity. This helps ensure even curing and reduces heat press mistakes to avoid.
3. Incorrect Powder Application
Adding too much or too little adhesive powder is a common problem. Over powdering causes a thick, stiff print. Under powdering leads to DTF print peeling off after a few washes.
Tip: Apply powder evenly by gently shaking the film and removing excess before curing.
4. Poor Curing Technique
You risk DTF transfer errors like rising edges or total print failure if the powder isn't completely heated and bound.
Tip: Always adhere to the curing temperature and duration specified by the manufacturer. This is about 160°C for two minutes for the majority of powders.
5. Wrong Heat Press Settings
The heat press is where most beginners mess up. Too much pressure can blur the design; too little can lead to poor adhesion. Incorrect temperature can also cause DTF print not sticking issues.
Tip: Aim for medium pressure at 160–165°C for 15–20 seconds, unless your DTF film specifies otherwise.
6. Skipping Printer Maintenance
A clogged printhead or poorly calibrated printer leads to banding, color misalignment, and wasted transfers. DTF printer maintenance tips, like daily cleanings, can save you expensive reprints.
Tip: Run a nozzle check before starting production. Keep ink lines clean and replace parts before they fail.
7. Pressing on Dirty or Untreated Fabrics
Pressing onto fabrics with lint, dust, or residue is one of the fastest ways to ruin a print. Even if it looks fine initially, dirt under the transfer can lead to peeling.
Tip: Always pre press garments for 3–5 seconds to remove moisture and wrinkles before applying the transfer.
8. Rushing the Cooling Stage
Peeling too soon is one of the most frequent DTF printing do’s and don’ts violations. Hot peeling can damage the film’s bond unless you’re using a hot peel specific transfer.
Tip: If your film is cold peel, let it cool completely before removing it. This ensures the best bond and clean results with DTF transfers.
9. Not Testing Before Bulk Printing
Jumping straight into a large run without testing your setup can result in dozens of ruined prints.
Tip: Always do a test press when changing fabrics, designs, or transfer suppliers. It’s the easiest way to prevent DTF transfer mistakes.
10. Ignoring Wash Test Feedback
Your customers will notice if your designs fade or peel after a few washes. If you never perform wash tests, you’ll miss these early warning signs.
Tip: Wash a sample from every new batch to ensure long term durability.
Best Practices for DTF Transfer Printing
-
Use high quality transfers and powders.
-
Maintain correct curing and pressing conditions.
-
Keep your printer clean and calibrated.
-
Pre press garments to remove moisture.
-
Test before bulk production.
It all boils down to patience, high-quality materials, and the right settings to avoid frequent DTF printing problems. You will always receive professional, consistent outcomes if you follow these suggestions.
Conclusion
To become proficient in DTF printing, you must learn from your failures and modify your workflow rather than trying to avoid them altogether. Regardless of whether you're fixing DTF printing errors like peeling transfers or refining your curing techniques. Every step counts toward cleaner, longer lasting prints.
For high quality DTF transfers and expert guidance, visit DTF West Coast and take your prints from “just okay” to consistently flawless.
FAQs
1. What causes DTF prints to peel off?
DTF prints often peel due to under curing, poor powder application, or pressing at the wrong temperature. Following proper heat press settings greatly reduces peeling issues.
2. How to fix peeling DTF transfers?
You can repress the transfer using the correct temperature and pressure settings. If adhesion is still weak, the problem may be low quality powder or insufficient curing.
3. What are the most common DTF printing mistakes?
They include over powdering, incorrect curing time, poor heat press settings, dirty fabrics, and skipping test prints before bulk production runs.
4. How to get clean results with DTF transfers?
Use high quality films, maintain your printer, apply even powder, cure properly, and always test before large runs. Clean fabrics and correct pressing are key.
5. Can heat press mistakes ruin a DTF print?
Indeed. Inadequate pressing time, incorrect pressure, or excessive or inadequate heat might result in peeling after washing, poor adherence, or blurred designs.
Share:
Are the Wrong DTF Printing Temperature Settings Ruining Your DTF Transfers? (Yes, It Could Be)
Why Your DTF Colors Don’t Match Your Screen - Color Correction Tips